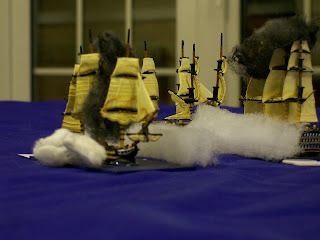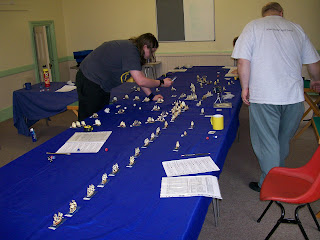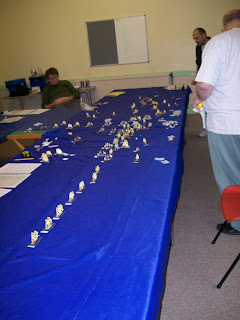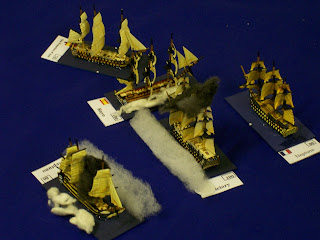
The game was played using Form Line of Battle (F.L.O.B.), a set of quick play naval rules frequently used by the club. With the number of ships involved it was essential that we used a set of rules that allowed for quick movement and combat resolution. There was the additional benefit that we are familiar the rule system.
Initial Deployment
The initial deployment was set at the point where the lead ships of the British columns are just entering long range of the allied battleline. We used card tables to provide temporary side tables to hold the British fleet for the early moves so that we could actually reach the figures.


Turn 1
 The allied battle line resists the temptation to start firing at long range.
As a result its Africa a British 64 that had been with the scouting frigates that had the honour of firing the first broadside of the engagement.

In turns 2 and 3 the British continued their advance, with the allied still holding their fire to maximise the effectiveness of their first broadsides.
The lead French squadron realising that the British weather column will cut their line behind them begin to reverse their course so that they can get into the battle in time to have some effect.
Turn 4
 At the head of the the French column as the result of some poor movement rolls the lead squadron managed get themselves entangled causing major problems.
Meanwhile the British columns close on the central division of the allied line, with the Victory leading the way.


Victory comes under fire from the lead ships of the allied division as she leads the British windward column.
Meanwhile the leeward column closes threatening to cut the allied line between the central and rear divisions.
Turn 5
With the allied lead squadron still trying to sort itself out the Victory leads the the way cutting through the allied line of the central division, at the head of the allied rear division the British leeward column begins to close in superior numbers.

Turn 6
The French lead squadron starts to get itself clear and moves back down the allied line to support the central squadron which is under serious threst as more British ships join the Victory in successfully breaking the line.


Here the Minatour comes alongside the Victory while the center divisions escape is cut off by the remainder of the windward squadron and Bellerophon leads the leeward column in support.
Turn 7

As the result of a fortunate sequence of moves the allied centre managed to escape the worst effects of the British breaking their line and partially scattered, running for the support of the lead squadron in the hopes of reorganising.
In the center the central allied squadron is suffering as the British manage to double up on many of the ships in the squadron.
The result is the first of the allied ships striking to the British.
Meanwhile the tail of the British leeward squadron is starting to disrupt the allied rear squadron preventing them from coming to the support of the central division.

Turn 8

The British have managed to get most of their ships into effective positions enabling them to run 2 or more ships against the allied central squadron and the lead elements of the rear squadron, although the allied lead squadron is begining to come to the support of the central squadron.
Despite the overall position not everything is going the way of the British as the Victory is starting to suffer the consequences if its agressive leadership.

 With the leeward squadron the more restrained advance has bourne fruit with several allied ships struck (the white counter over the national flag) as the Royal Sovereign leads the race to the assistance of the Victory while exchanging close range broadsides with allied ships as it passes.
Turn 9

The last turn of the game and the highly confused pell mell battle that has devloped is apparent.
Overall the British have had the better of the day, the allied center is effectively destroyed, the lead squadron has managed to enter the battle but is still poorly organised and outnumbered by the Britsh windward squadron.
The allied rear squadron is still struggling to engage with the ships at its tail, while the head of the squadron has been badly mauled.
The allied force has managed to force two British ships to strike, one the Victory, however it has lost 7 and has several more in poor condition.

No comments:
Post a Comment